How Roofing Pros Trace the Source of a Stubborn Leak
When a ceiling stain appears after a storm, the first thought is often "I need a quick patch." But finding where the water really enters is rarely straightforward. Water can travel along roof decking, under shingles, or behind flashing before it finally drips into your living room. A proper roof leak inspection follows the water backward from the stain to its entry point, and the process requires patience, a systematic approach, and sometimes a second pair of eyes on the roof.
The direct answer is that professionals locate a difficult roof leak by first identifying the interior stain, then working upward and outward on the roof in a logical sequence. They check common trouble spots such as roof valleys, vents, chimneys, and flashing transitions. If the source isn't obvious, they simulate rain with a garden hose while a helper watches inside for the first sign of water. This method narrows the search area and saves time compared to randomly replacing shingles.
Start Inside, Work Your Way Up
The interior inspection is the most important step. A ceiling stain tells you where water is collecting, but it rarely marks the exact entry point. Water runs along the underside of the roof decking, follows rafters, and pools at low points before dripping. Mark the stain location and then measure its position relative to walls and windows. Go into the attic if you can. Look for water trails on the underside of the roof sheathing, wet insulation, or mold growth on wood. A flashlight and a dry day make this job easier.
Once you have a starting point, go outside and measure the same distance up from the eaves and over from the gable end. This gives you a rough zone on the roof to inspect first. Keep in mind that water can travel several feet horizontally before it becomes visible inside, so the entry point may be higher or farther to one side than the stain suggests.
Common Leak Locations and What to Look For
Most roof leaks occur at penetrations or transitions, not in the middle of a solid field of shingles. Start your roof leak inspection at these areas:

- Flashing, Metal or rubber flashing around chimneys, skylights, and vents can crack, pull away, or rust over time. Loose flashing is a frequent cause of hidden leaks.
- Roof valleys, The open channel where two roof slopes meet collects debris and water. If the metal valley pan is damaged or the shingles are cut too short, water can work its way under the underlayment.
- Roof vents and pipes, Plumbing vents, exhaust fans, and solar attachments all have boots or collars that dry out and split. A cracked boot can channel water straight into the decking.
- Drip edges and fascia, Ice dams, damaged drip edge, or missing flashing at the eaves can let water climb back under the shingles.
Each of these spots deserves a close look. Carry a small mirror or use your phone camera to see under lifted shingles or behind flashing without disturbing them. Look for rust, gaps, or dried sealant that has lost its adhesion.
Simulating Rain: The Garden Hose Test
When a visual inspection turns up nothing obvious, the next step is to recreate the conditions that caused the leak. Pick a dry day and have a helper stand inside where the stain is visible. One person stays on the roof with a garden hose and a spray nozzle. Start low, at the area you measured from inside, and work your way up the slope. Spray water steadily for a few minutes at each section, then pause and ask the helper if any moisture appears. Move the hose higher and repeat.
This technique is especially effective for intermittent leaks that only show up during wind-driven rain. It lets you test one suspect area at a time without waiting for the next storm. Be methodical: test the flashing around a chimney, then the valley, then the vent boot. If no water shows after fifteen minutes, move to a different zone.
When the Source Is Not on the Surface
Sometimes the leak is not a missing shingle or a cracked pipe boot. The problem may be in the underlayment or the roof decking itself. Older roofs can have deteriorated felt or synthetic underlayment that no longer sheds water. In those cases, the shingles may look fine, but water seeps through tiny gaps in the decking where nails have backed out or where the plywood has rotted.
A thorough roof leak inspection includes checking for soft spots in the decking. Press down on the shingles with your foot or a long pole. If the decking gives way, you have found a structural failure that will need more than a patch. Mold growth on the underside of the decking in the attic is another clue that moisture has been present for a long time.
Trade-Offs and Judgment Calls
Not every leak is worth a full roof replacement. A small flashing repair or a new vent boot can solve the problem for years. But if the underlayment is failing or the decking is rotted, a partial repair might only delay the inevitable. The judgment call comes down to how much of the roof is affected and how old the rest of the system is. A roof that is near the end of its service life will continue to develop new leaks even after one spot is fixed.
Homeowners in Central Texas face an additional challenge: the combination of intense sun, heavy rain, and occasional hail accelerates wear on roofing materials. Rubber boots dry out faster, flashing expands and contracts more, and shingles can crack from thermal stress. A leak that appears minor in a cooler climate may be a sign of widespread deterioration here.
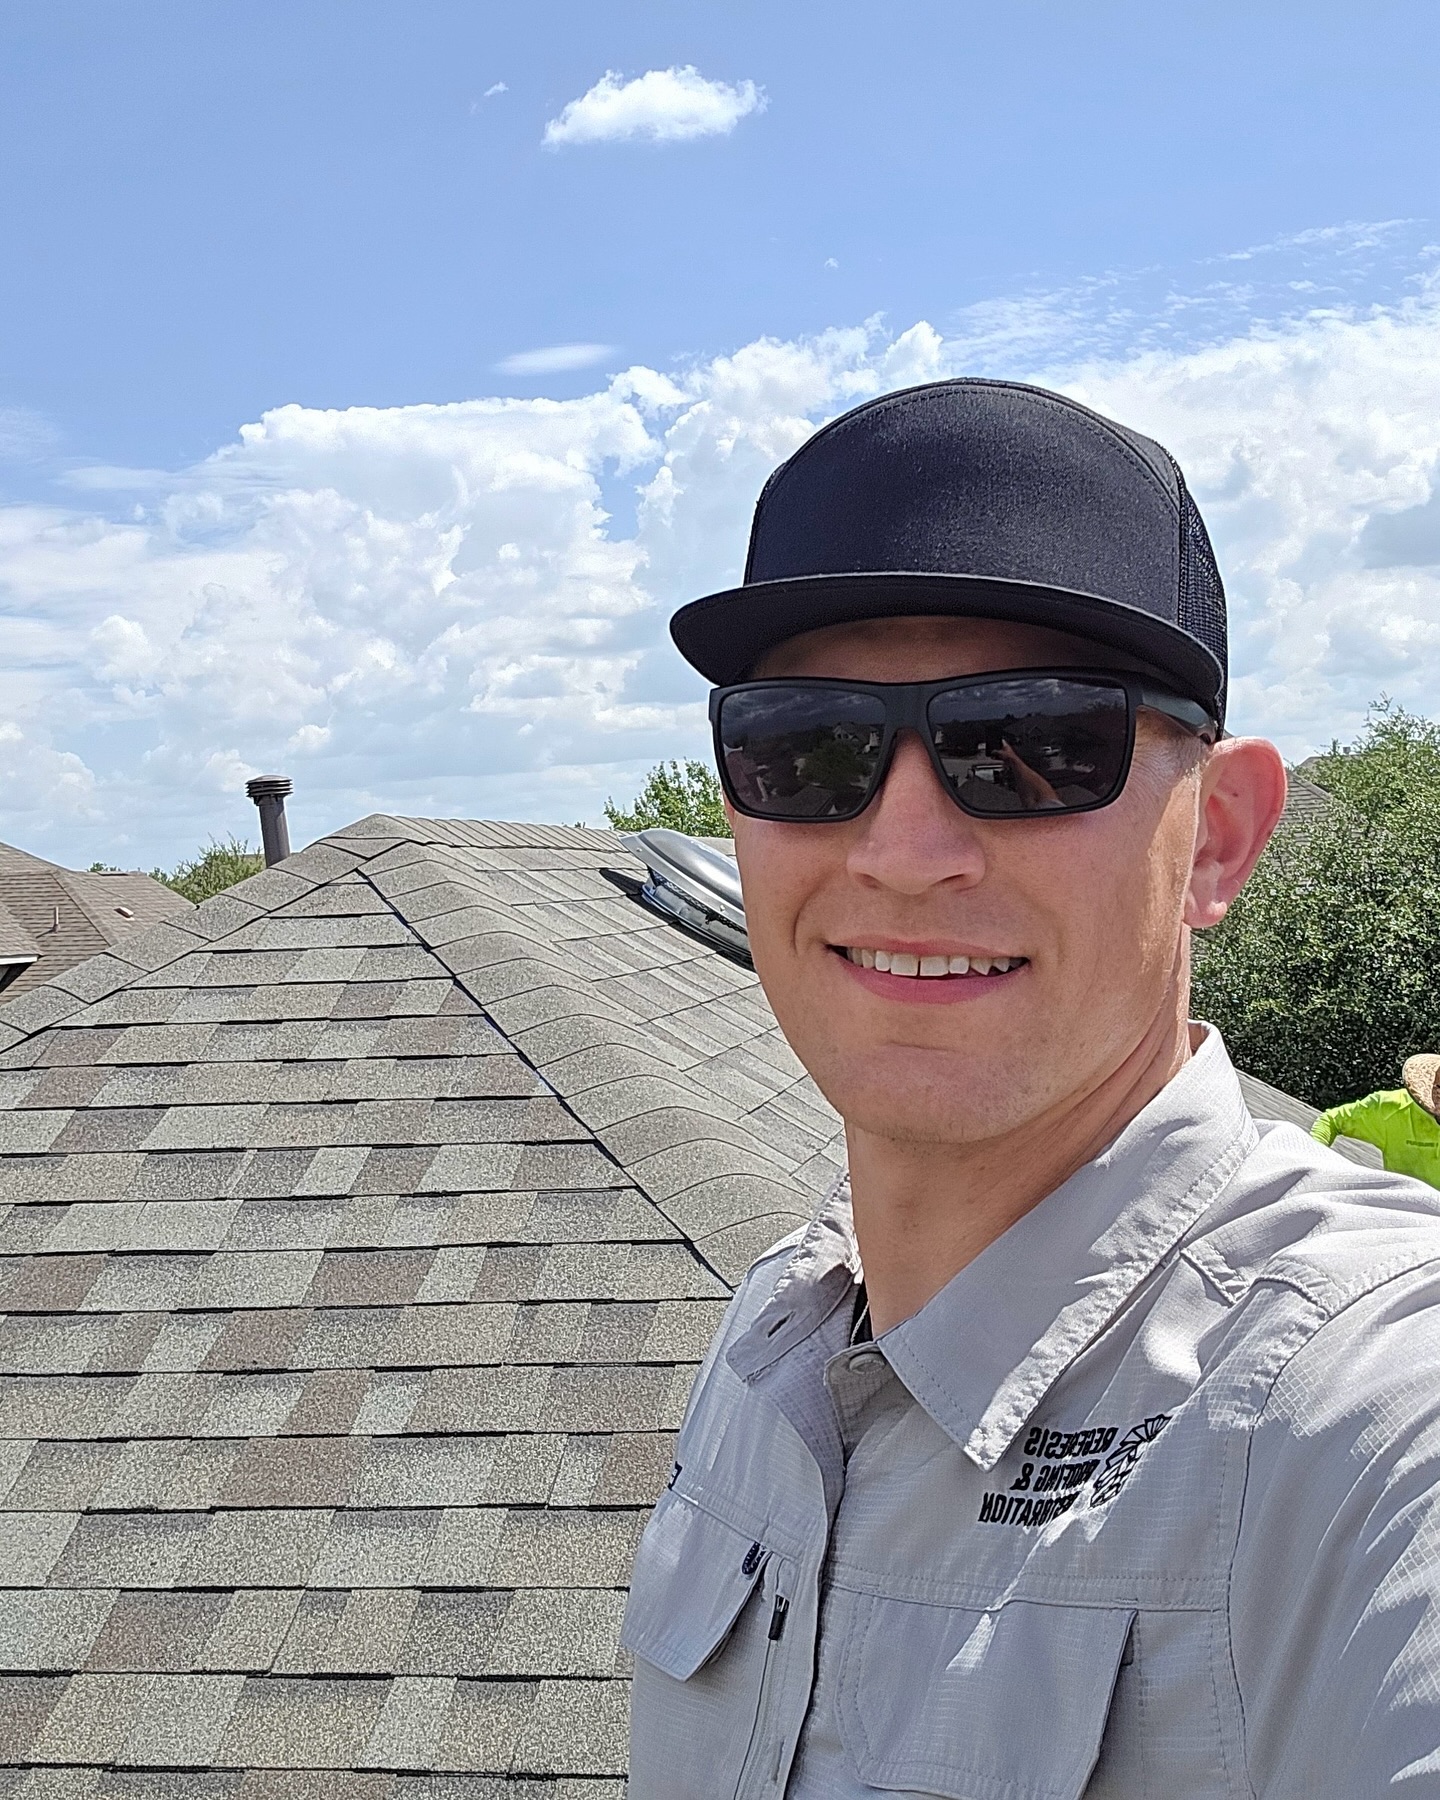
Regenesis Roofing & Restoration LLC is also on Instagram.
For those who prefer professional help, a local roofing contractor such as Regenesis Roofing & Restoration LLC can perform a detailed inspection and recommend the right course of action. Their team works in Cedar Park, Leander, and nearby North Austin communities, handling everything from leak diagnosis to full storm damage restoration. If you suspect a hidden leak, a systematic inspection is the best way to avoid unnecessary repairs and address the real problem.
Preventing Future Leaks
Once you have found and fixed the leak, take steps to keep it from coming back. Clean gutters and downspouts twice a year. Trim overhanging branches that drop leaves and needles into valleys. Check flashing and vent boots every spring for cracks or separation. A quick visual inspection of the roof from a ladder or the ground can catch small problems before they turn into interior stains.

If you are planning a roof replacement, ask about modern underlayment materials that offer better protection against wind-driven rain. Some synthetic underlayments are designed to be self-sealing around nail holes, which can extend the life of the roof and reduce the chance of future leaks.
The most important lesson is that a roof leak inspection is not just about finding the wet spot. It is about understanding how water moves through the roof system and addressing the root cause. With patience and a methodical approach, even the most elusive leak can be traced and stopped.
Regenesis Roofing & Restoration LLC · 2302 John Tee Dr, Cedar Park, TX 78613, USA · +1 512-674-5979